


When I’m not managing website projects at Antidote 71, I am a portrait photographer over at Shirley Chic. I’ll spare you the soapbox of how important it is to update your headshot and your family photo but if you’re in the Sioux City area, I’d love to chat about it!
The best part about both of my jobs is connecting with new faces and helping them accomplish business goals or feel good about themselves (sometimes both at the same time!) and I’ve spent a fair bit of time explaining best practices to clients in my decade of portrait experience – here are my favorite phone photography tips!
1. Prevent Motion Blur
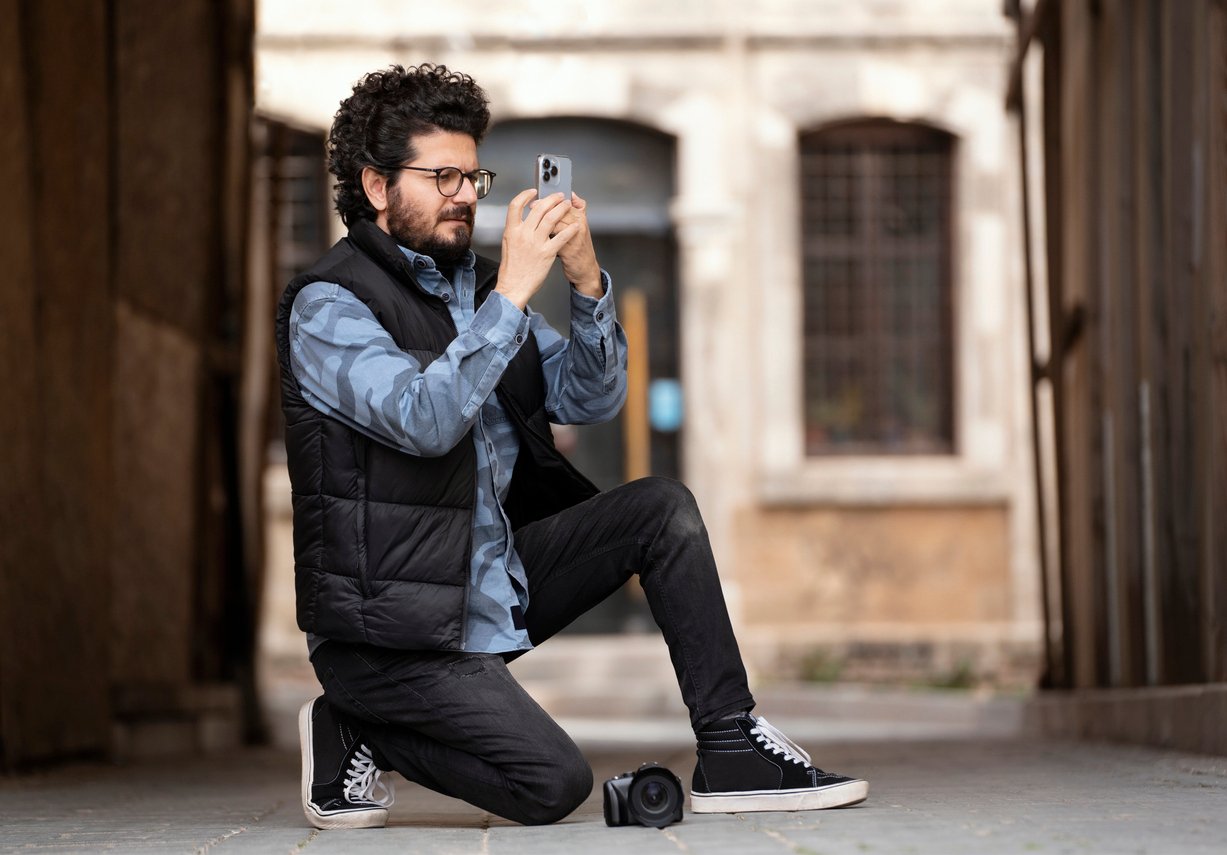
Prevent the frustration of blurry photos by mastering the technique of using your body as a reliable tripod. By setting your feet at hips distance apart and keeping your hands and arms close to your body, you create a stable foundation, minimizing camera shake and allowing you to easily capture crisp and focused shots easily. Don't let shaky arms compromise your photography.
2. Be a Clean Freak

Phones are gross. Pocket-lint, purse crumbs, face grease and fingerprints combine on your screen and camera lenses for a nasty party. Anything that comes between the lens of your camera and your subject can create unwanted blurriness or spots on your final image.
Phones now are made to be nearly indestructible, so while it’s best to clean with a soft, dry microfiber cloth, you can get away with a cotton t-shirt or the thigh of your jeans in a pinch. Front-facing cameras are especially susceptible to smudginess.
3. Throw Some Shade

For the best portrait light, look for open shade – either under a big fluffy cloud or on the shaded side of a building. Bonus tip: Overcast days are the best photo days outside if you’re looking for even, agreeable light.
Harsh overhead light can make for interesting shadows and can be fun to play with, especially for product shots but can be hard on people. No one looks their best with a squint.
4. Light it Up

The flash on your phone can make a big difference when your subject is within three or so feet of your camera. This range can be affected by a variety of factors like the amount of available ambient light and the number and skin tone of subjects (assuming your subjects are people). When in doubt, turn your flash on for one and leave it off for another to compare.
5. Practice Makes Perfect

With expanding storage limits and the ability to see your photos immediately, the best way to get better is to try. Then try again.
Lean on Googling your specific phone’s features – by default your camera is set to automatically expose to the best of its capabilities. My my favorite iPhone tip is to use the little sun icon that appears on a screen tap to adjust your brightness. To find it, tap the screen with your camera open. A yellow box with a small sun will appear next to the box. Drag your finger up to make the exposure brighter and down to make it darker. Most operating systems have a similar feature – experiment to find yours. If your first image sucks, delete it and pretend it never happened!
Implementing these five phone photography tips can significantly enhance the quality of your images. From stabilizing your shots by using your body as a tripod to keeping your phone's lenses clean and utilizing optimal lighting conditions, these practices will elevate your photography skills. Remember, practice makes perfect, so don't be afraid to experiment and learn from your shots.

GET A FREE BRAND AUDIT NOW!
|
Do you know what your brand is really saying? And if it's saying what you want it to? Our brand audit examines:
|

